
はじめに
AMDlab BIMソフトウェアエンジニアの河野(twitter@tatsukikouno)です。
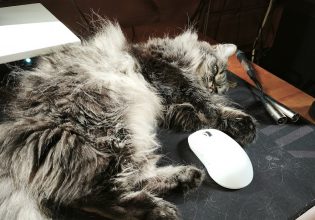
キャッチアップ画像は猫のハンゾーです。
今回は、チューリング株式会社が開発した日本語VLM(Vision Language Model)であるHeron-NVILAをRevitアドインから呼び出し、Revitのビューを”視て”説明してくれる機能を実装してみました。
Heron-NVILAは、画像とテキストを統合的に理解できるAIモデルで、Qwen2.5-VL-7B・Gemma3-12Bに匹敵する性能を持つ日本語VLMです。
この記事は、こちらやこちらを参考に人とAI一緒に書いています。
実装手順
今回のシステムは以下の2つのコンポーネントで構成されています:
1. Heron-NVILAサーバー(Python/FastAPI)
2. Revitアドイン(C#)
1. Heron-NVILAサーバーの実装
Revitアドインと同じソリューションにまとめるため、ここではVisual Studioを利用して作成する手順を説明します。
1. Visual Studioを起動して適当なソリューションを作成
2. 「新しいプロジェクトの追加」から「Python アプリケーション」を選択
3. 「Python アプリケーション」がないときは、Visual Studio Installerから「Python 開発」を追加してください。
4. プロジェクト名を「HeronNvilaServer」として作成
5. 必要なパッケージをインストールします:
|
1 2 3 |
pip install transformers==4.45.0 accelerate opencv-python torchvision einops pillow pip install git+https://github.com/bfshi/scaling_on_scales.git pip install fastapi uvicorn |
6. FastAPIを使用してHeron-NVILAモデルを提供するサーバーを実装します:
|
1 2 3 4 5 6 7 8 9 10 11 12 13 14 15 16 17 18 19 20 21 22 23 24 25 26 27 28 29 30 31 32 33 34 35 36 37 38 39 40 41 42 43 44 45 46 47 48 49 50 51 52 53 54 55 56 57 58 59 60 61 62 63 64 |
from fastapi import FastAPI, File, UploadFile, Form, HTTPException from fastapi.middleware.cors import CORSMiddleware import uvicorn from typing import List, Optional import io from PIL import Image import requests from transformers import AutoConfig, AutoModel, GenerationConfig app = FastAPI(title="Heron-NVILA API", description="Heron-NVILAモデルを使用するためのAPI") # CORSミドルウェアを追加 app.add_middleware( CORSMiddleware, allow_origins=["*"], allow_credentials=True, allow_methods=["*"], allow_headers=["*"], ) # モデルをロード model_path = "turing-motors/Heron-NVILA-Lite-2B" model = None @app.on_event("startup") async def startup_event(): global model config = AutoConfig.from_pretrained(model_path, trust_remote_code=True) model = AutoModel.from_config(config, trust_remote_code=True, device_map="auto") print("モデルのロードが完了しました") # エンドポイント @app.post("/generate_with_image") async def generate_with_image( prompt: str = Form(...), image: UploadFile = File(...), max_new_tokens: Optional[int] = Form(512), temperature: Optional[float] = Form(0.5), do_sample: Optional[bool] = Form(True) ): global model if model is None: raise HTTPException(status_code=500, detail="モデルがロードされていません") try: # 画像を読み込む image_content = await image.read() pil_image = Image.open(io.BytesIO(image_content)).convert("RGB") generation_config = None if max_new_tokens is not None or temperature is not None or do_sample is not None: generation_config = GenerationConfig( max_new_tokens=max_new_tokens, temperature=temperature, do_sample=do_sample ) response = model.generate_content( [pil_image, prompt], generation_config=generation_config ) return {"response": str(response)} except Exception as e: raise HTTPException(status_code=500, detail=f"エラーが発生しました: {str(e)}") |
2. Revitアドインの実装
次に、Revitアドインを実装します。アドインは以下の機能を持ちます:
– 現在のビューを画像としてエクスポート
– 画像をHeron-NVILAサーバーに送信
– 生成された説明を表示
コマンドは以下のように実装しました。Revitアドインとして動かすための説明は省略します。
|
1 2 3 4 5 6 7 8 9 10 11 12 13 14 15 16 17 18 19 20 21 22 23 24 25 26 27 28 29 30 31 32 33 34 35 36 37 38 39 40 41 42 43 44 45 46 47 48 49 50 51 52 53 54 55 56 57 58 59 60 61 62 63 64 65 66 67 68 69 70 71 72 73 74 75 76 77 78 79 80 81 |
public class HeronNvilaCommand : IExternalCommand { private const string SERVER_URL = "http://localhost:8000"; private static readonly HttpClient client = new HttpClient(); public Result Execute(ExternalCommandData commandData, ref string message, ElementSet elements) { try { // 現在のViewを取得 var uiapp = commandData.Application; var doc = uiapp.ActiveUIDocument.Document; var view = uiapp.ActiveUIDocument.ActiveView; // ---------- view を画像化 ---------- // 保存先フォルダー(デスクトップ直下に RevitExport) string folderPath = Path.Combine( Environment.GetFolderPath(Environment.SpecialFolder.Desktop), "RevitExport"); Directory.CreateDirectory(folderPath); // ファイル名(拡張子は付けない。API が自動で .png を付与) string fileNameWithoutExt = $"View_{view.Id.IntegerValue}_{DateTime.Now:yyyyMMdd_HHmmss}"; string filePathWithoutExt = Path.Combine(folderPath, fileNameWithoutExt); // 画像書き出しオプション設定 var imgOpts = new ImageExportOptions { ExportRange = ExportRange.CurrentView, // 現在のビューのみ FilePath = filePathWithoutExt, // 出力パス(拡張子なし) HLRandWFViewsFileType = ImageFileType.PNG, // PNG 形式 ImageResolution = ImageResolution.DPI_600, // 300 DPI FitDirection = FitDirectionType.Horizontal, // 余白を最小化 ZoomType = ZoomFitType.FitToPage, // 全体を収める PixelSize = 1920 }; // 実行 doc.ExportImage(imgOpts); // ---------- ここまで ---------- // 生成された画像のパス string imagePath = filePathWithoutExt + ".png"; // Heron-NVILAサーバーにリクエストを送信 Task.Run(async () => { try { using var form = new MultipartFormDataContent(); using var fileStream = File.OpenRead(imagePath); using var fileContent = new StreamContent(fileStream); form.Add(fileContent, "image", Path.GetFileName(imagePath)); form.Add(new StringContent("この画像の説明を生成してください"), "prompt"); var response = await client.PostAsync($"{SERVER_URL}/generate_with_image", form); if (response.IsSuccessStatusCode) { var result = await response.Content.ReadAsStringAsync(); MessageBox.Show($"生成結果: {result}", "Heron-NVILA", MessageBoxButtons.OK, MessageBoxIcon.Information); } else { MessageBox.Show($"エラーが発生しました: {response.StatusCode}", "Heron-NVILA", MessageBoxButtons.OK, MessageBoxIcon.Error); } } catch (Exception ex) { MessageBox.Show($"エラーが発生しました: {ex.Message}", "Heron-NVILA", MessageBoxButtons.OK, MessageBoxIcon.Error); } }); return Result.Succeeded; } catch (Exception ex) { message = ex.Message; return Result.Failed; } } } |
使用方法
1. Heron-NVILAサーバーの起動
1. Visual StudioのHeronNvilaServerプロジェクトを右クリックして「ここでコマンドプロンプトを開く」
2. 以下のコマンドを実行してサーバーを起動します。
|
1 |
uvicorn api:app --reload |
3. サーバーが起動したら、ブラウザで以下のURLにアクセスしてSwagger UIが開けば準備完了です。
– http://localhost:8000/docs
2. Revitアドインの使用
1. Revitを起動
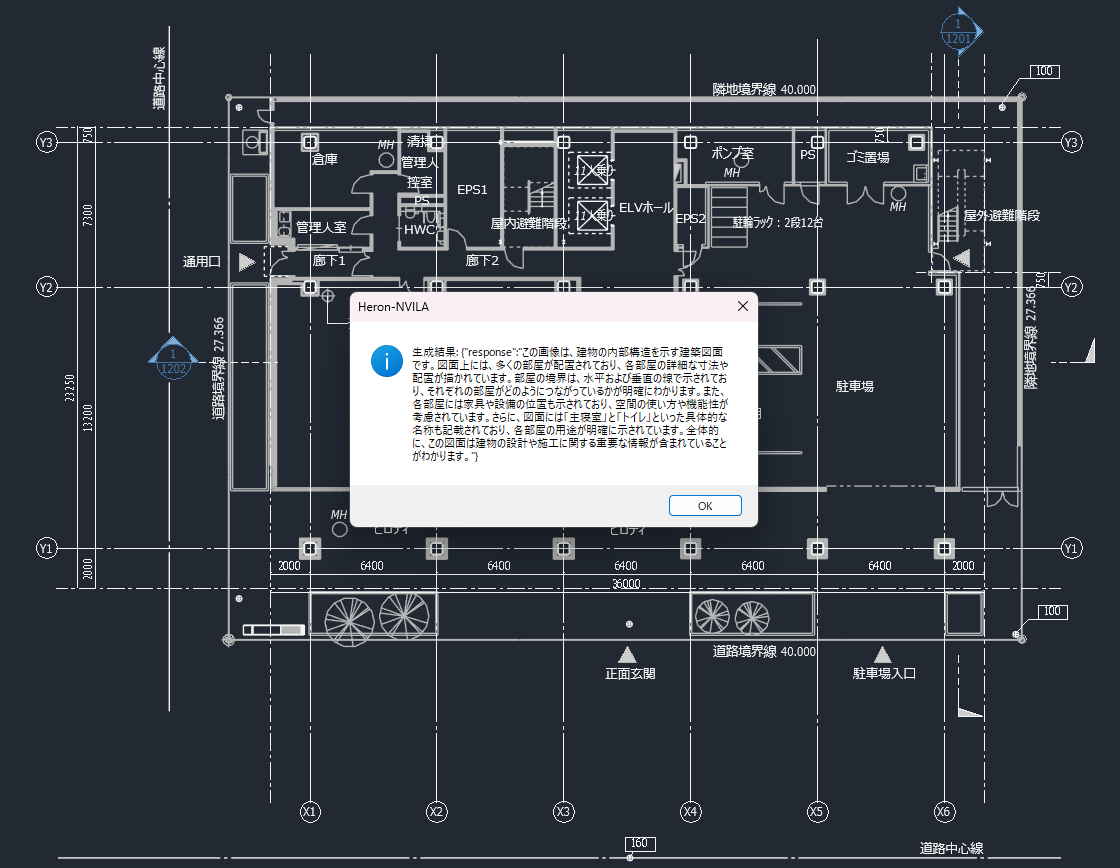
2. 説明してもらいたいビューを開いてアドインを実行してみましょう
3. 数秒待てば、生成された説明がメッセージボックスで表示されます
おわりに
今回はHeron-NVILAをRevitアドインとして実装する方法を紹介しました。
MCPサーバーの普及で、AIがツールとしてRevitを使える日が来るのでは!?と話題になりましたね。
VLMで、AIがRevitを”視て”操作する日も遠くないかもしれません。
AMDlabでは、開発に力を貸していただけるエンジニアさんを大募集しております。
少しでもご興味をお持ちいただけましたら、カジュアルにお話するだけでも大丈夫ですのでお気軽にご連絡ください!
中途求人ページ: https://www.amd-lab.com/recruit-list/mid-career
カジュアル面談がエントリーフォームからできるようになりました。
採用種別を「カジュアル面談(オンライン)」にして必要事項を記載の上送信してください!
エントリーフォーム: https://www.amd-lab.com/entry


COMMENTS