皆様
こんにちは
AMDlabの秋山です。
第3回目は、①選択したオブジェクトのオブジェクトIDを取得する。②選択したオブジェクトをハイライトする。方法をそれぞれ解説します。
前回は、IFCモデルを読み込むだけのビューアー作成でしたが、今回からオブジェクトを操作していきましょう。
まずはじめに、選択したオブジェクトのIDを取得します。
①選択したオブジェクトのオブジェクトIDを取得する
詳しくは公式ドキュメントをご覧ください。
手順は以下の7ステップです。
- ライブラリのインポート
- IFCモデルの保存場所を指定する
- Raycasterを使用する
- マウスの位置ベクトルを作成する
- 選択したオブジェクトのIDを取得する
- バンドル済みファイルの作成
- コマンドプロンプト上でlocalhostを立ち上げる or VScode上でライブサーバーを実行する
1.ライブラリのインポート
three.jsから下記のライブラリをインポートします。
- Raycaster
- Vector2
|
1 2 3 4 |
import { Raycaster, Vector2 } from "three"; |
つづいて、
npm i three-mesh-bvh をコマンドプロンプト上で打ち込み、three-mesh-bvh libraryをインポートします。
重たいオブジェクトを読み込む場合にこのライブラリをインポートすることでオブジェクトの読み込みが早くなります。
|
1 2 3 4 5 6 7 8 9 10 11 |
import { acceleratedRaycast, computeBoundsTree, disposeBoundsTree } from 'three-mesh-bvh'; // 最適なピッキングを設定する ifcLoader.ifcManager.setupThreeMeshBVH( computeBoundsTree, disposeBoundsTree, acceleratedRaycast); |
2.IFCモデルの保存場所を指定する
wasmデータとシーン内のモデルの保存場所を任意で入力します。
今回使用するデータはRevitのサンプルデータ:rac_advanced_sample_project.ifcになります。
|
1 2 3 4 5 6 7 8 |
// IFCの読み込みを設定する const ifcModels = []; const ifcLoader = new IFCLoader(); ifcLoader.ifcManager.setWasmPath("static/wasm/"); ifcLoader.load("../../IFC/rac_advanced_sample_project.ifc", (ifcModel) => { ifcModels.push(ifcModel.mesh); scene.add(ifcModel.mesh) }); |
3.Raycasterを使用する
Raycasterクラスのインスタンスを作成します。
Raycasterは画面内のオブジェクトを取得するのに使用されます。
|
1 2 |
const raycaster = new Raycaster(); raycaster.firstHitOnly = true; |
4.マウスの位置ベクトルを作成する
Vector2クラスのインスタンスを作成します。
Vector2は2Dの位置ベクトルを作成します。
|
1 2 3 4 5 6 7 8 9 10 11 12 13 14 15 16 17 18 19 20 |
const mouse = new Vector2(); function cast(event) { // スクリーン上のマウスの位置を計算する const bounds = threeCanvas.getBoundingClientRect(); const x1 = event.clientX - bounds.left; const x2 = bounds.right - bounds.left; mouse.x = (x1 / x2) * 2 - 1; const y1 = event.clientY - bounds.top; const y2 = bounds.bottom - bounds.top; mouse.y = -(y1 / y2) * 2 + 1; // マウスを指し示すカメラの上に置く raycaster.setFromCamera(mouse, camera); // 光を当てる return raycaster.intersectObjects(ifcModels); } |
5.選択したオブジェクトのオブジェクトIDを取得する
マウスでダブルクリックすると、選択したオブジェクトのIDを取得するイベントを作成します。
|
1 2 3 4 5 6 7 8 9 10 11 |
function pick(event) { const found = cast(event)[0]; if (found) { const index = found.faceIndex; const geometry = found.object.geometry; const ifc = ifcLoader.ifcManager; const id = ifc.getExpressId(geometry, index); console.log(id); } } threeCanvas.ondblclick = pick; |
6.バンドル済みファイルの作成
rollup.jsを使用して、app.jsに紐付くモジュールをバンドルさせるため、コマンドプロンプト上で rollup -c と打ち込みます。フォルダ内にbundle.jsファイルが作成されたことを確認してください。
7.コマンドプロンプト上でlocalhostを立ち上げる or VScode上でライブサーバーを実行する
前回の記事で2通りの確認方法があると伝えました。この記事以降では、コマンドプロンプト上でlocalhosotを立ち上げる方法で確認していきます。
■コマンドプロンプト上でlocalhostを立ち上げる
まず初めにコマンドプロンプト上でhttpサーバーをインストールします。
npm install -g http-server と入力してください。
インストール後、動かしたいサイトのあるディレクトリ上で
npx http-server と入力し取得した番号をサイト上に入力します。
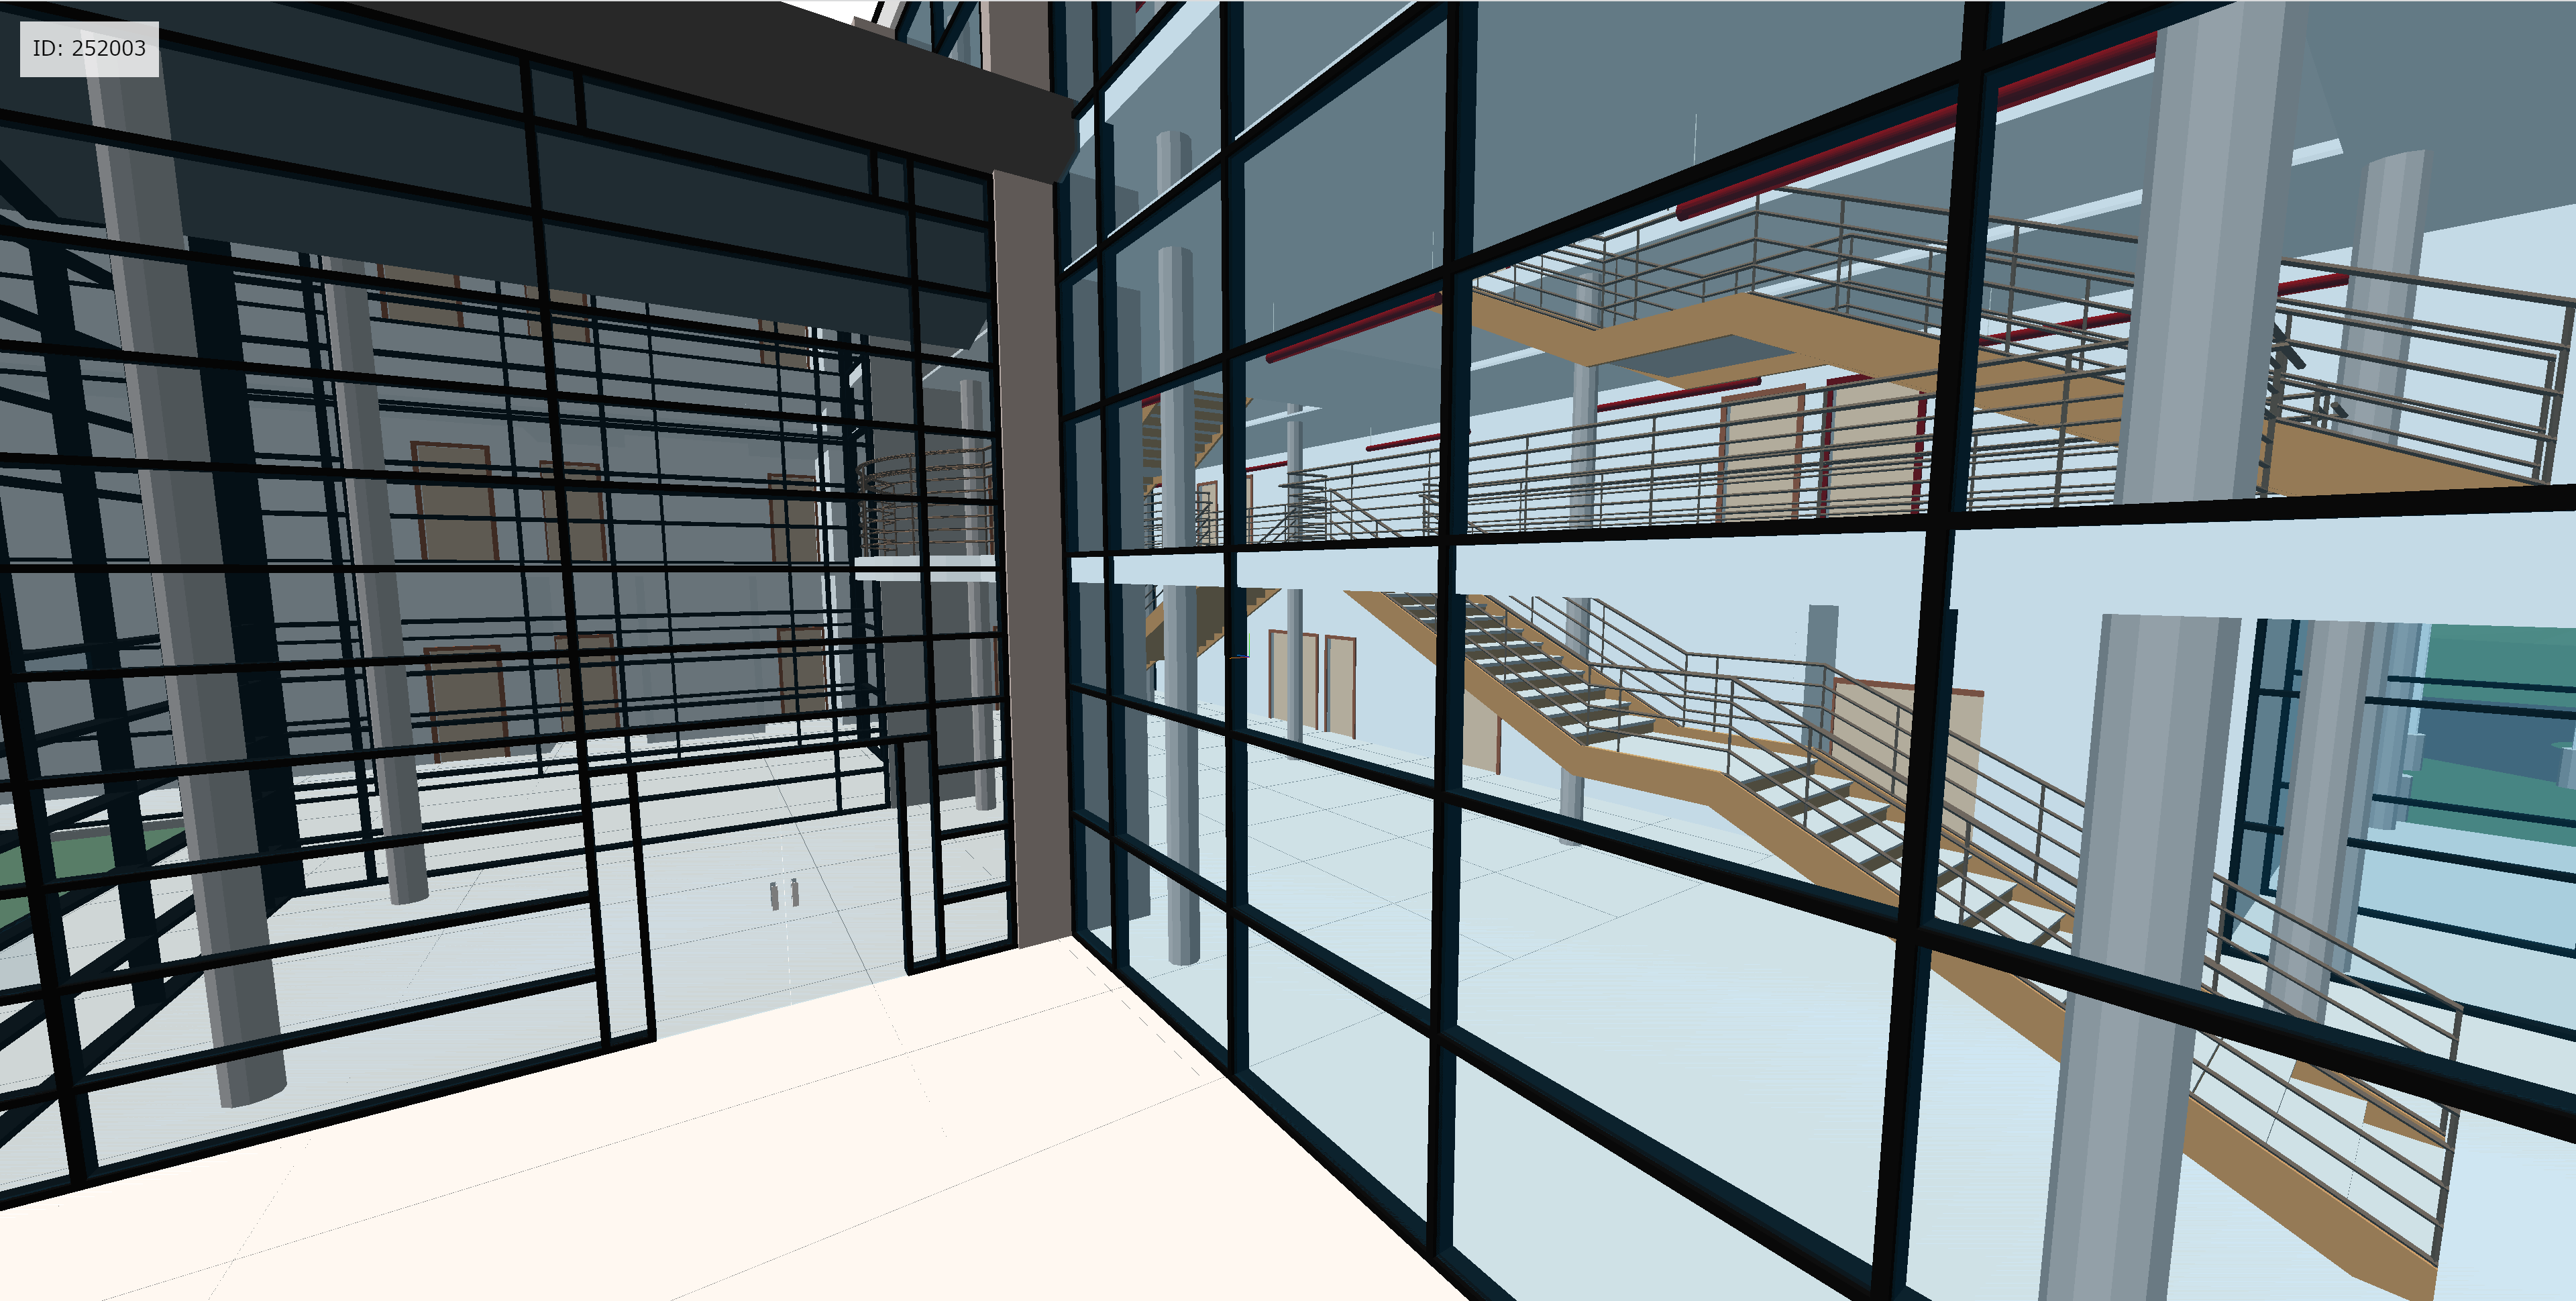
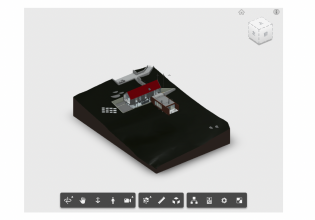
無事選択したオブジェクトのIDを取得できました。
次に、選択したオブジェクトをハイライトさせる方法を解説します。
②選択したオブジェクトをハイライトする
ほとんどの3DやBIMビューアー上では、マウスを移動させたり、オブジェクトを選択すると、オブジェクトがハイライトされたり何らかの表現がされています。
IFC.js上でも実装してみましょう。
先ほど、選択したオブジェクトのIDを取得したので、IDからサブセット※1を取得します。
※1モデル内オブジェクトの任意のグループ
手順は以下の5ステップです。
- ライブラリのインストール
- ハイライトの表現作成
- シングルサブセットの作成
- マルチサブセットの作成
- ジオメトリの抽出
1.ライブラリのインストール
オブジェクトをハイライトさせるために、Three.jsのライブラリMeshLambertmaterialをインポートします。
|
1 2 3 |
import { MeshLambertMaterial } from "three"; |
2.ハイライトの表現作成
ハイライトのマテリアル表現を設定することができます。今回は2種類作成します。
■1つ目はマウスをホイールしたときのハイライト
|
1 2 3 4 5 6 7 |
// サブセット素材の作成 const preselectMat = new MeshLambertMaterial({ transparent: true, opacity: 0.6, color: 0x88ffff, depthTest: false }) |
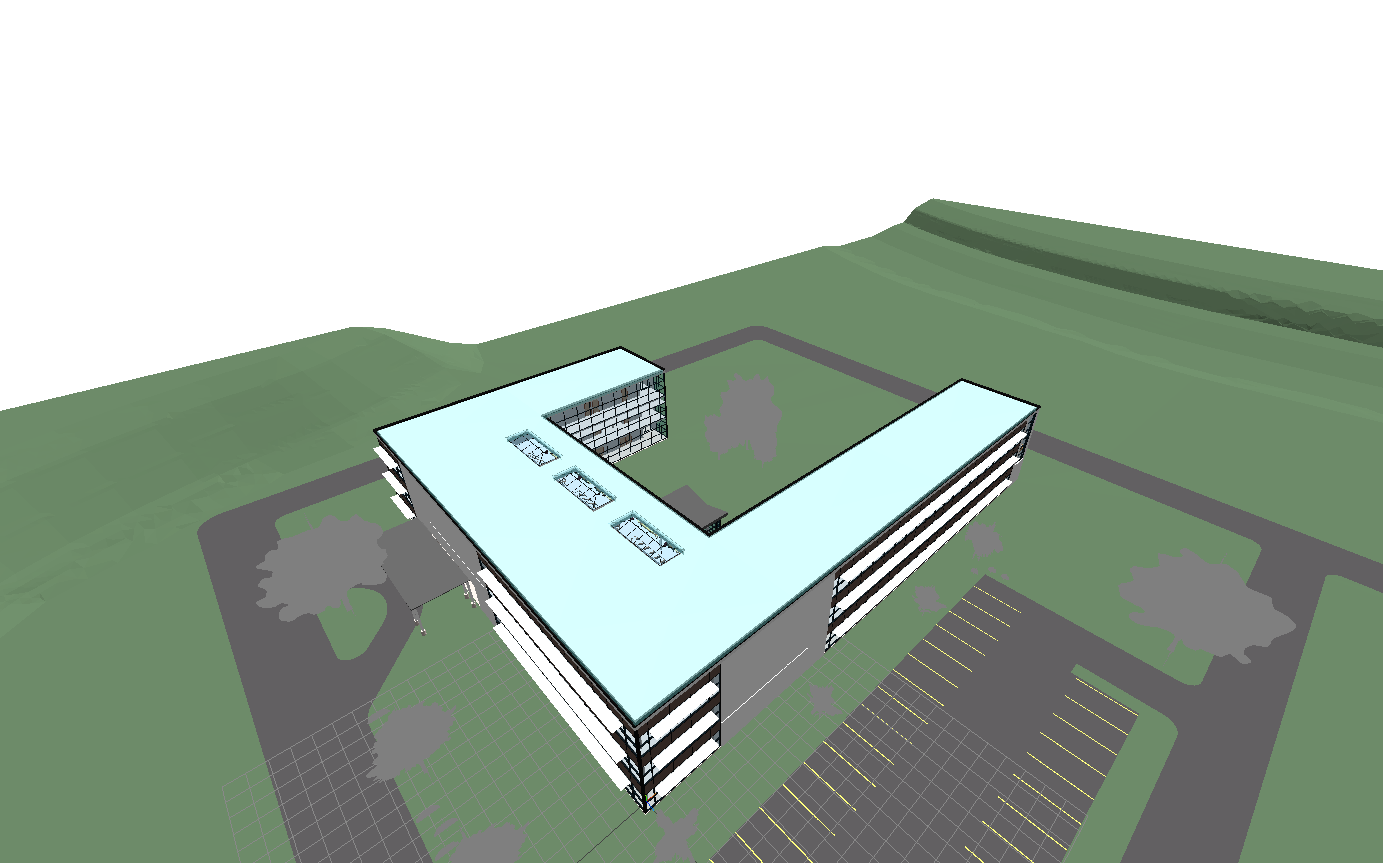
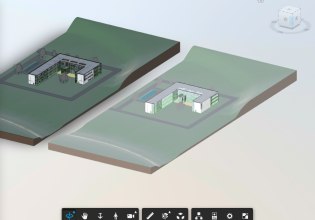
↑のハイライトはこんな感じの表現です。
■2つめはマウスをダブルクリックしたときのハイライト
|
1 2 3 4 5 |
const selectMat = new MeshLambertMaterial({ transparent: true, opacity: 0.6, color: 0x0000ff, depthTest: false }) |
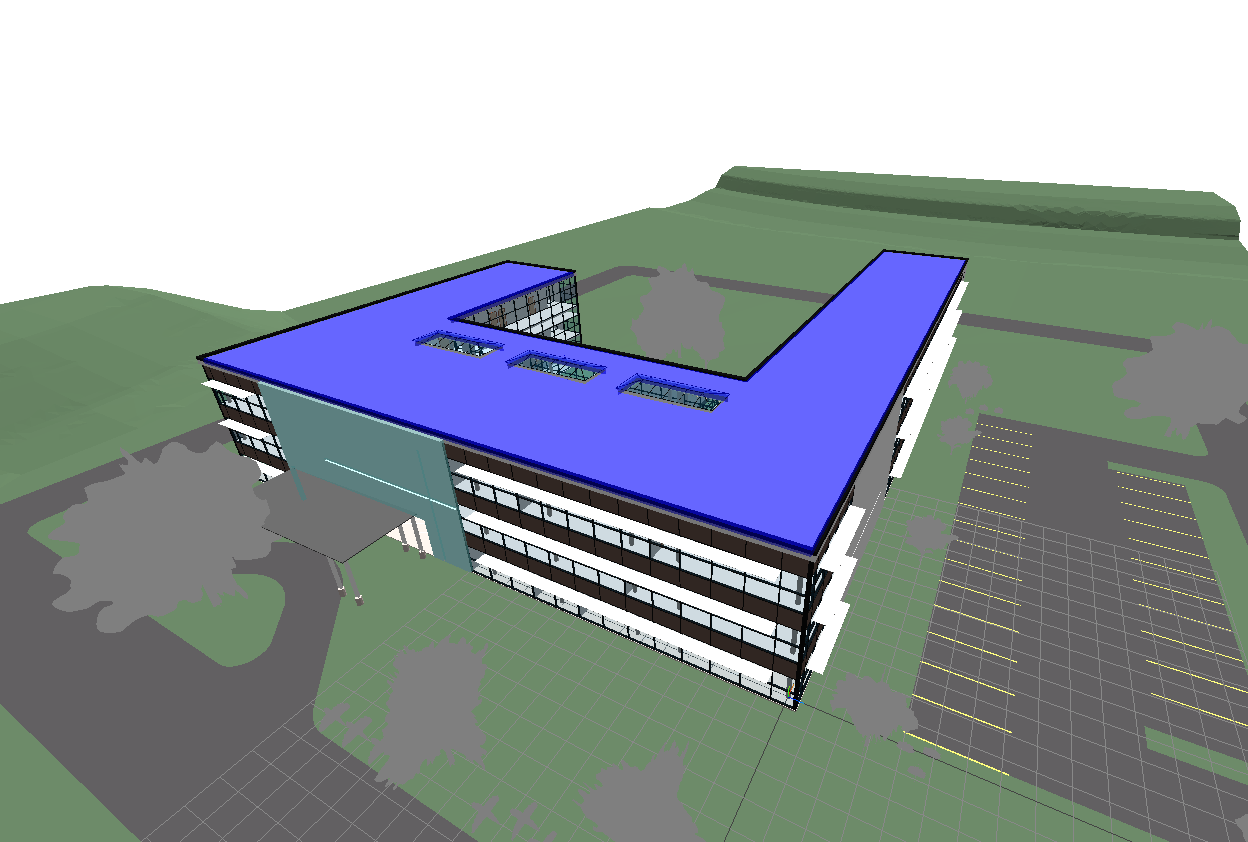
↑のハイライトはこんな感じの表現です。
3.シングルサブセットの作成の場合
マウスをホバーしたときに、オブジェクトがハイライトされます。
|
1 2 3 4 5 6 7 8 9 10 11 12 13 14 15 16 17 18 19 20 21 22 23 24 25 26 27 28 29 30 31 32 33 34 35 36 |
const ifc = ifcLoader.ifcManager; // 前のセレクションへの参照 let preselectModel = { id: - 1}; function highlight(event, material, model) { const found = cast(event)[0]; if (found) { // モデルIDの取得 model.id = found.object.modelID; // Express IDを取得する const index = found.faceIndex; const geometry = found.object.geometry; const ifc = ifcLoader.ifcManager; const id = ifc.getExpressId(geometry, index); // サブセットの作成 ifcLoader.ifcManager.createSubset({ modelID: model.id, ids: [id], material: material, scene: scene, removePrevious: true }) } else { // Removes previous highlight ifc.removeSubset(model.id, scene, material); } } window.onmousemove = (event) => highlight( event, preselectMat, preselectModel); |
4.マルチサブセットの作成
マウスをダブルクリックしたときに、オブジェクトがハイライトされます。
|
1 2 3 4 5 6 7 8 9 10 11 |
const selectMat = new MeshLambertMaterial({ transparent: true, opacity: 0.6, color: 0xff00ff, depthTest: false }) const selectModel = { id: - 1}; window.ondblclick = (event) => highlight( event, selectMat, selectModel ); |
5.ジオメトリの抽出
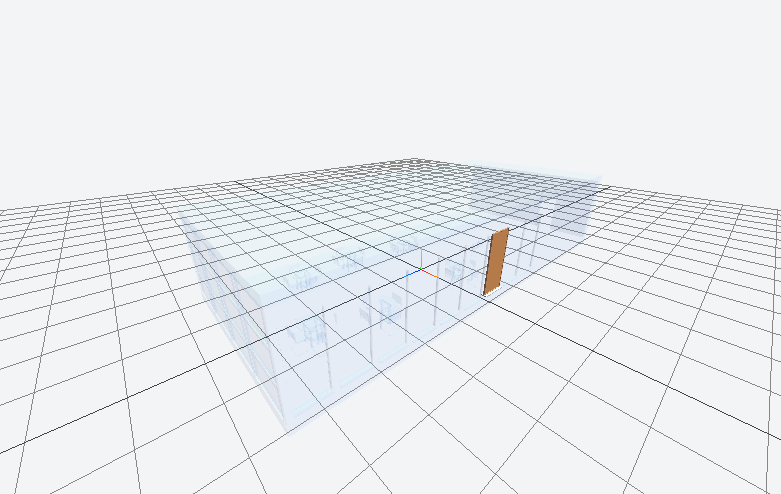
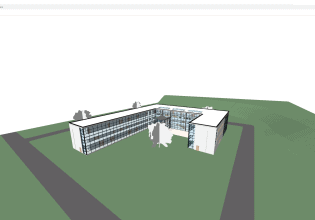
読み込んだIFCモデルを透明にし、マウスをホバーしたときに、オブジェクトがハイライトされます。
このときのハイライトは、ハイライトマテリアルは設定せず元のオブジェクトのマテリアルを設定します。
|
1 2 3 4 5 6 7 8 9 10 11 12 13 14 15 16 |
ifcLoader.load("../../IFC/01.ifc", (ifcModel) => { ifcModels.push(ifcModel.mesh); ifcModel.mesh.material = new MeshLambertMaterial({ transparent: true, opacity: 0.1, color: 0x77aaff }); scene.add(ifcModel.mesh) }); // ... window.onmousemove = (event) => highlight( event, undefined, highlightModel); |
以上になります。
お疲れ様でした。




COMMENTS